Pokazywanie postów oznaczonych etykietą Decoupage. Pokaż wszystkie posty

poniedziałek, 16 grudnia 2013

Unusual christmas balls

As you have probably noticed I was gone for a few days. I really wanted to write something new, but I had no time... I will try to make up for it, because in the meantime I had few ideas and realized them ;)


Today I give you Christmas post, showing you that with a little creativity with needless things you can create something interesting.
Streets are already decorated with Christmas, which makes me feel the wonderful atmosphere ;) Feeling the festive atmosphere reminded me of some interesting sites, how to make something out of nothing, including a beautiful christmas ball with a blown light bulb. I wanted to do it a year ago, but it ended up only with intentions. New Year's resolution not to be lazy probably worked, because this year I made the balls :D I found few blown light bulbs at home and started working. I must admit that making of two light bulbs (christmas tree with paints and decorated with decoupage) was very time consuming, but when it comes to third, brocade, it was an instant case. Just glue and glitter ...


The effect is great, and with a little work (maybe a little more cleaning by the glitter, but it's worth it) ;) attach the strings to hang our christmass light bulb and bow for a better effect ;) and here are my balls, please write what you think about them ;)

Decorated by decoupage:


Glitter-bulb :)


Christmas tree


All


I look forward to your feedback ;) 
Kisses: *

środa, 13 listopada 2013

Renewed photo frame

During tidying a drawer in my desk, I found some interesting treasures, including an old frame that did not look too well, because it was all scratched. I decided to renew it ... Without thinking, I took a brush and started to repaint it, completely forgetting about taking a picture "before", to show the changes that have occurred... and trust me - they are great :) oh well, next time I will definitely do this picture :) for it shows the end result, I look forward for you to tell me do you like it ;) kisses!

and here is the effect:


poniedziałek, 11 listopada 2013

Decoupage tutorial

Hello!

I invite you all to learn the decoupage decorating technique. 
NOTE: If you are using my tutorials please add my blog to your site J
If you want to share your work email me: anna.zarzecka88@gmail.com

You'll need:
  • brush
  • paint to crack
  • adhesive varnish
  • lacquer
  • handkerchief with our favorite theme  (I chose a floral design)
  • acrylic paint (two colors, light and dark)
  • sandpaper
  • box, or other unpainted wooden object.

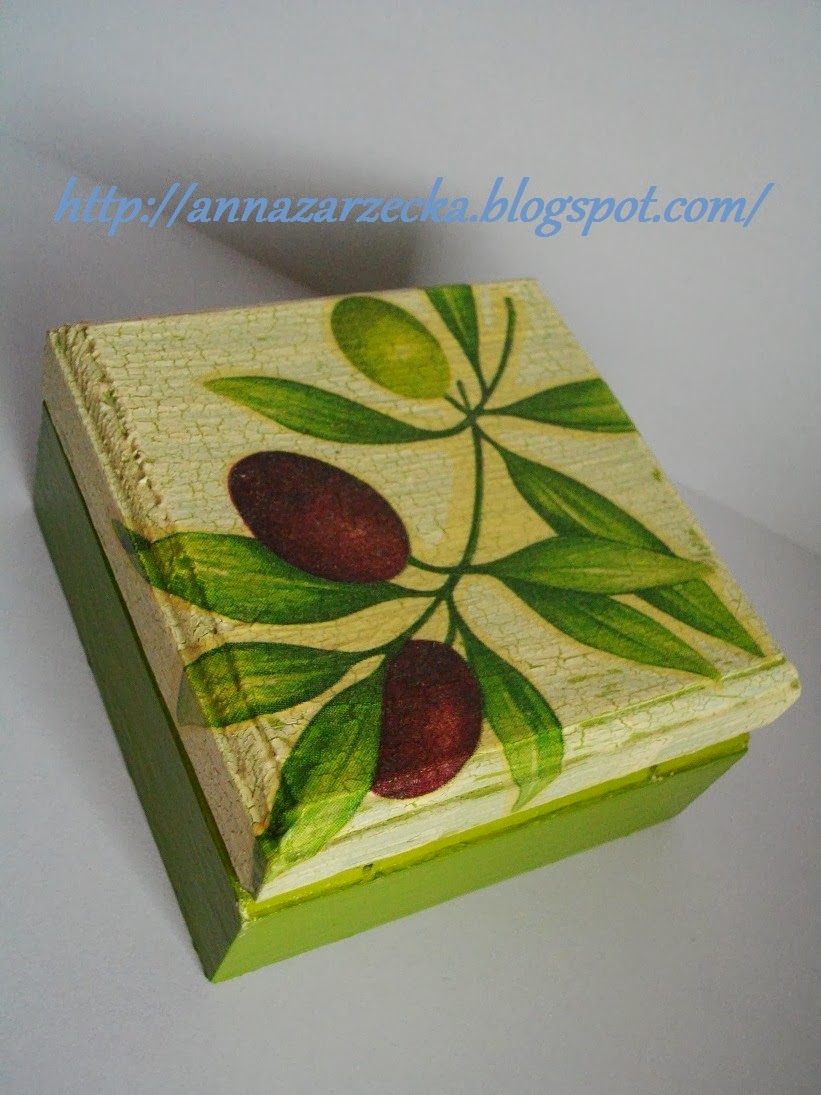
Making is not difficult but it's time consuming, because you must wait between putting the layers, until the previous layer is dry. Anyone can do this! I will decorate the jewelery box as an example to show you what to do step by step.

STEP 1: Before you start painting the surface should be polished with sandpaper, so the casket wont look messy after painting.


STEP 2: Paint the surface with the darker paint. If your box have metal parts, please remember to keep it clean before the paint dries. I've used gold paint and usually use metallic inks, because I like the cracks to have a metallic sheen.


STEP 3:  After the paint has dried, we put a thick layer of cracking paint . Unfortunately, now we have to wait until the paint is dry, it might take some time.


STEP 4: Once the crack paint is dry, use brush or sponge to cover the entire surface of the lighter paint (do not paint two times the same place, or the paint will not crack).


STEP 5: During the time of paint drying, select a theme from tissues, which you want to decorate the surface with, and cut it with scissors, or tear off, which also gives a very nice effect.


STEP 6: Separate the theme from the other layers of the tissue and stick it with varnish, working from the center to the edges of napkin. Do it carefully and slowly to make handkerchief  well smoothed, which will give even nicer effect.


STEP 7:   When the glued handkerchief is completely dry cut the opening with a knife.


STEP 8: The next day when we will be sure that everything is perfectly dried, paint the surface. Several thin layers of paint and the box will look beautiful. READY! J

So get to work!


 And that's my two favorite bookmarks done a long time ago :) 


wtorek, 5 listopada 2013

Angels decorated with decoupage :)

I love things decorated with decoupage. I love the "cracks" and various floral designs, which are placed on a little wooden boxes, boxes for jewels, clothes hangers, and decorative hearts. This method makes objects look very impressive. 
Today I'll show you that the wood isn't the only good material for decorating with decoupage method ... :)

Here are my angels: 


A SURPRISE soon :) 
Best regards and kisses!